Stone Bowl Crispy Rice. No Stone. No Bowl.
Having stone bowl rice is perhaps one of the greatest, simplest meals you can have if you’re lucky enough to be at a restaurant that serves it. A stone bowl is heated to insane temperatures, and then cooked rice and other goodies are placed in the bowl for serving. As the bowl makes its way to you from the kitchen, the rice along the edges and bottom of the bowl crisps up and achieves a wonderful texture to compliment the soft rice and other food items mingling with it.
One of the greatest, simplest discoveries we made in our kitchen in 2018 was how to get pretty darn close to stone bowl rice without a stone and without a bowl. It was a happy accident. My wife wanted me to heat up some leftover rice, and wanting things to move fast without steaming it, I threw the rice in a well seasoned cast iron pan, covered it with a lid, and walked away for a few minutes. When I came back, the rice on the bottom of the pan had crisped up delightfully, and my wife was ecstatic at the product of my cutting corners. It was a win all around.
Since then, I’ve gotten a little more scientific about how to make this crispy rice and wanted to share my learning here. At the end of the day, the keys are to use leftover rice (not freshly cooked), a cast iron pan over medium-low heat, and a lid to cover the rice while it is cooking. Covering the rice while cooking achieves two objectives simultaneously: (1) trapping enough heat to crisp the rice on the bottom and edges (while not smoking the oil you use) and (2) trapping moisture to keep the inner rice from drying out.
Getting the rice sufficiently crispy might involve some experimentation to see what works given your stove and pots. But here’s what I did recently, which you might try as a start:
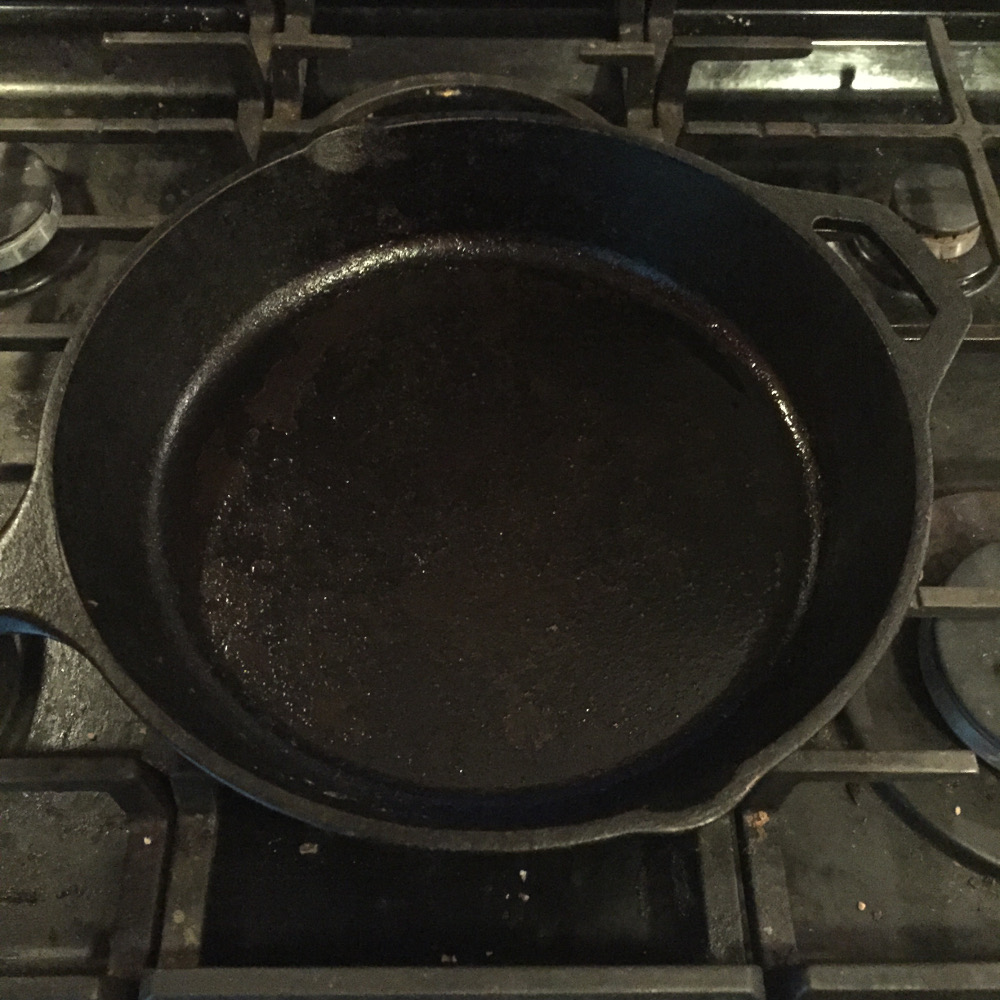
1) Grab a well seasoned cast iron pan. Here’s my 10 inch pan:
2) Although rice crisps at high temperatures, heat your pan somewhere between medium and low heat. Relying on such low heat is counterintuitive, but using a lid will ensure that enough heat is trapped to get the rice where it needs to go. Here’s what my flame looked like. You can see how low it was:

3) Let the pan heat for 3 to 5 minutes, until a drop of water sizzles when it hits the surface. Give the pan a generous glug of oil and swirl it around the bottom and sides. Here I used 2 tablespoons of olive oil. A high-heat oil is probably better, but I went with olive oil to show what even low-heat oil can do.

I like to throw a sprinkle of salt on the oil to season the rice while it cooks.
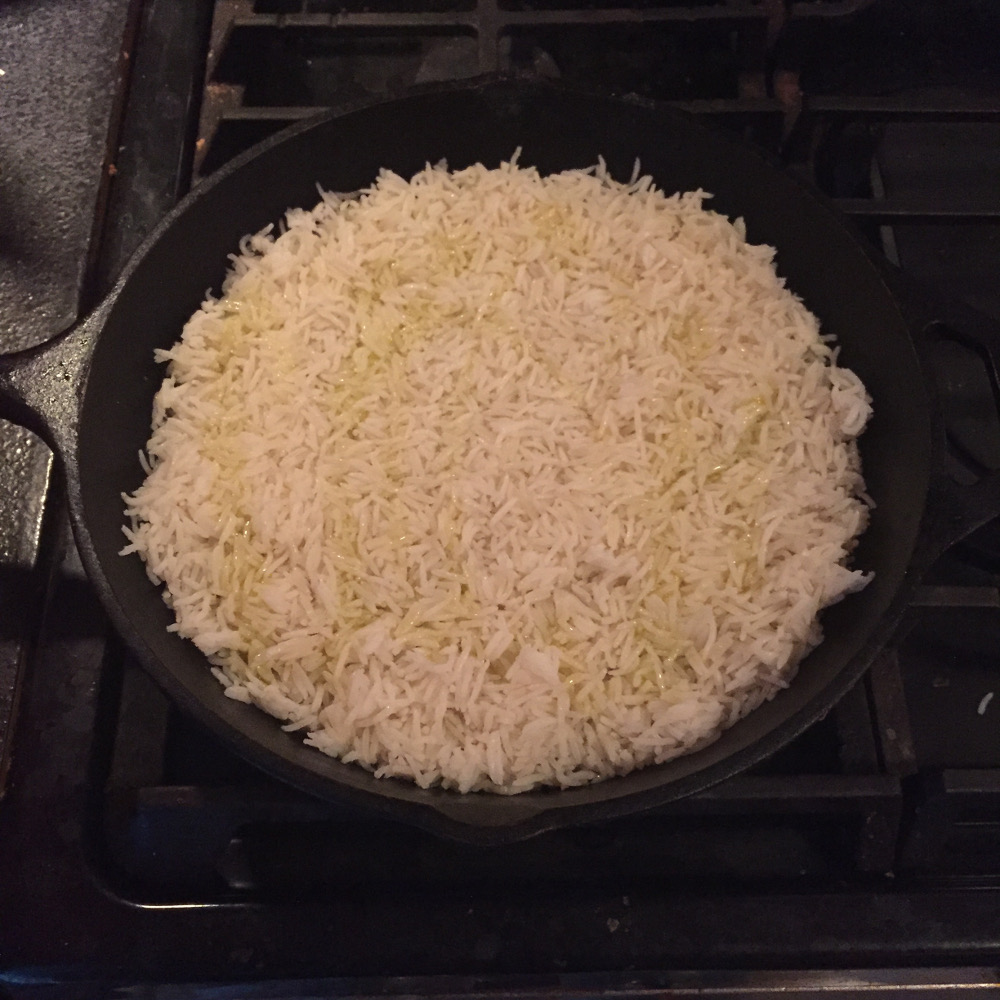
4) Grab left over rice, at least a day old. It can be cold. Here I have white basmati rice. (I’ve used brown rice other times and it’s gone well.) I added 3.5 cups of cooked rice to the hot pan and pressed the rice down firmly but not to an extreme.
I like to douse the top with more oil and another sprinkle of salt.
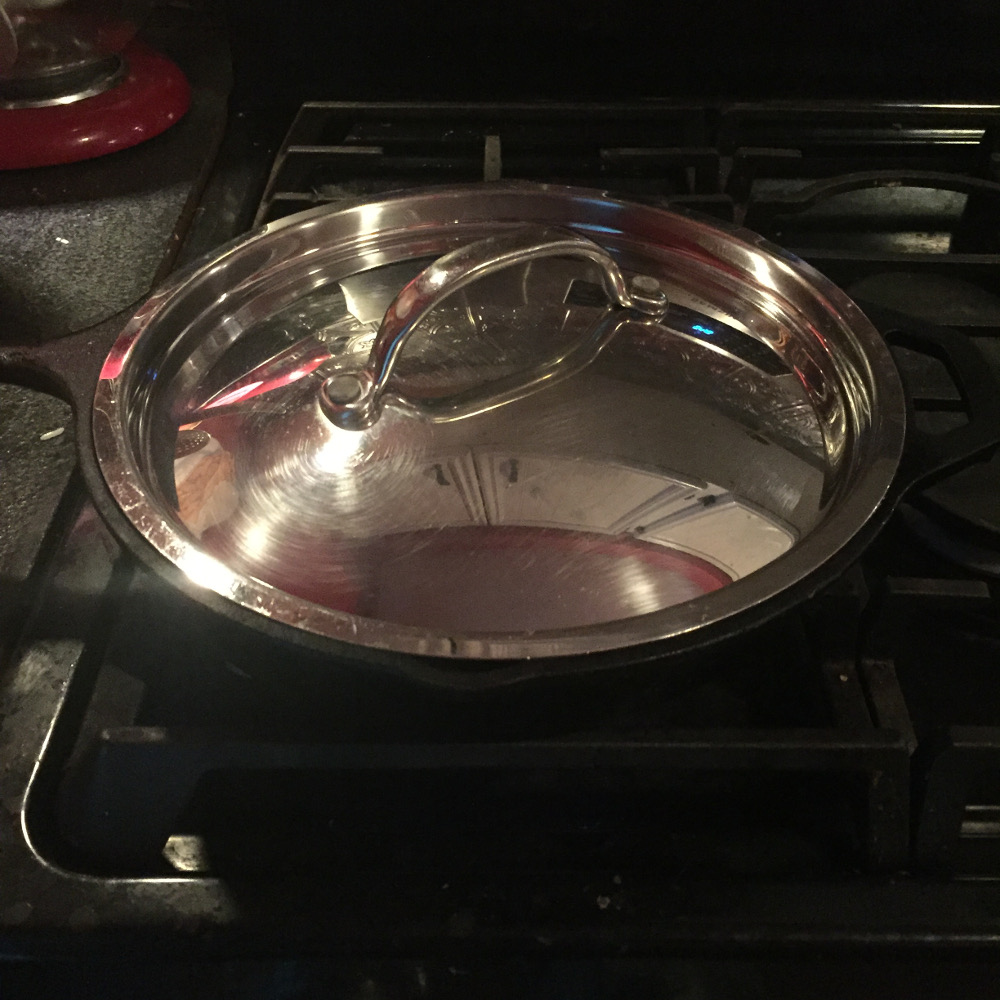
5) Now cover the rice with a relatively-tight fitting lid. It doesn’t have to be an perfect fitting lid made for the pan. I make do just fine with this:
6) Continue to cook the rice on medium-low heat for at least 8 minutes. PLEASE LEAVE THE RICE ALONE. Don’t play with it! After the 8 minutes are up, I like to take off the lid and gently lift some of the rice in the middle to see how the bottom is crisping up. If I want more crisp, I re-cover the pan and give it another few minutes. If I’m happy with the crispness, I may toss the rice a bit, re-press it, and re-cover it for another 5 to 7 minutes. This increases the amount of rice that gets crispy, but it’s not necessary.
7) Once the bottom of your rice has browned and crisped to you liking, turn the heat off, remove the lid, and let the rice sit for 3 to 4 minutes. This allows excess moisture to escape and helps the rice bind together a bit. Taste and season with more salt and oil if needed. In particular, don’t skim on the salt. It really makes the rice sing.
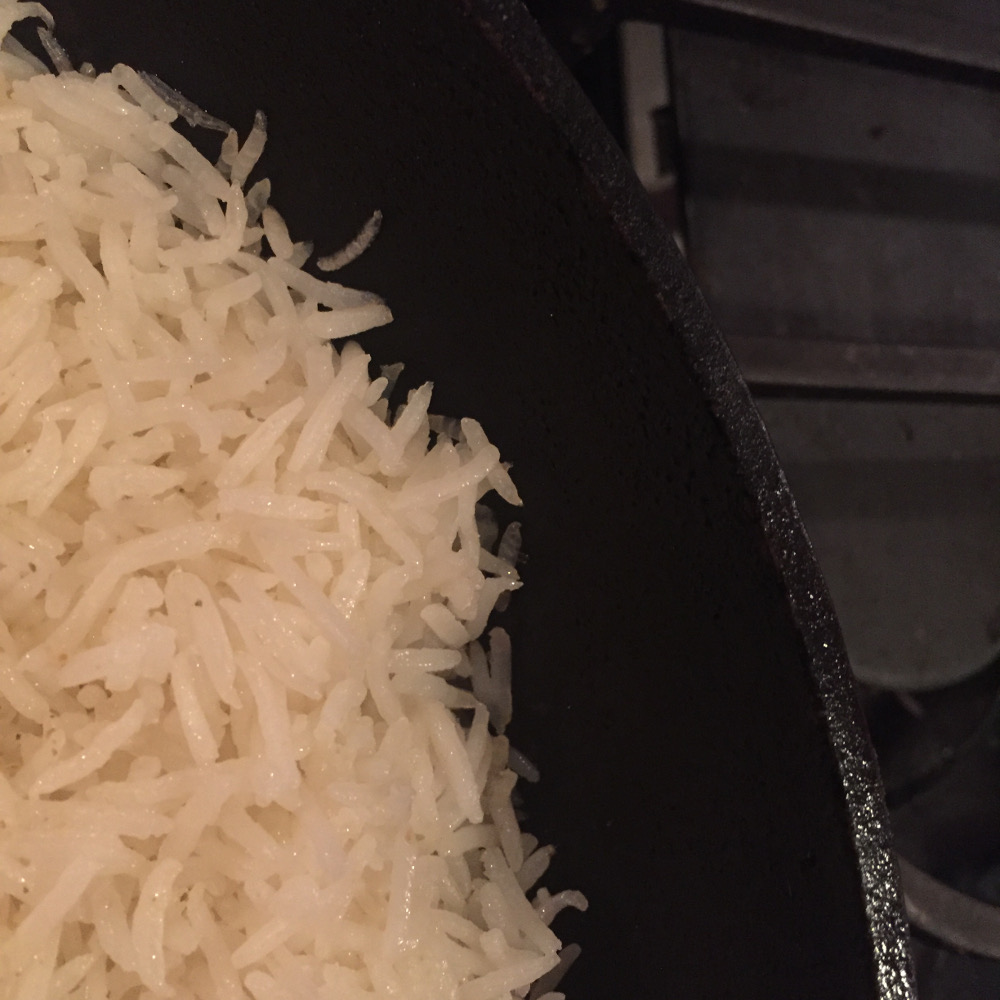
For this particular endeavor, I wanted to give you a really good view of how the crispy rice looked. So in step 6 above, I let the rice cook undisturbed and covered for 11 minutes, not 8. I had a good hunch that the bottom was completely done and cohesive by looking at the rice on the side edges, which was beginning to turn translucent from the oil and climbing heat:
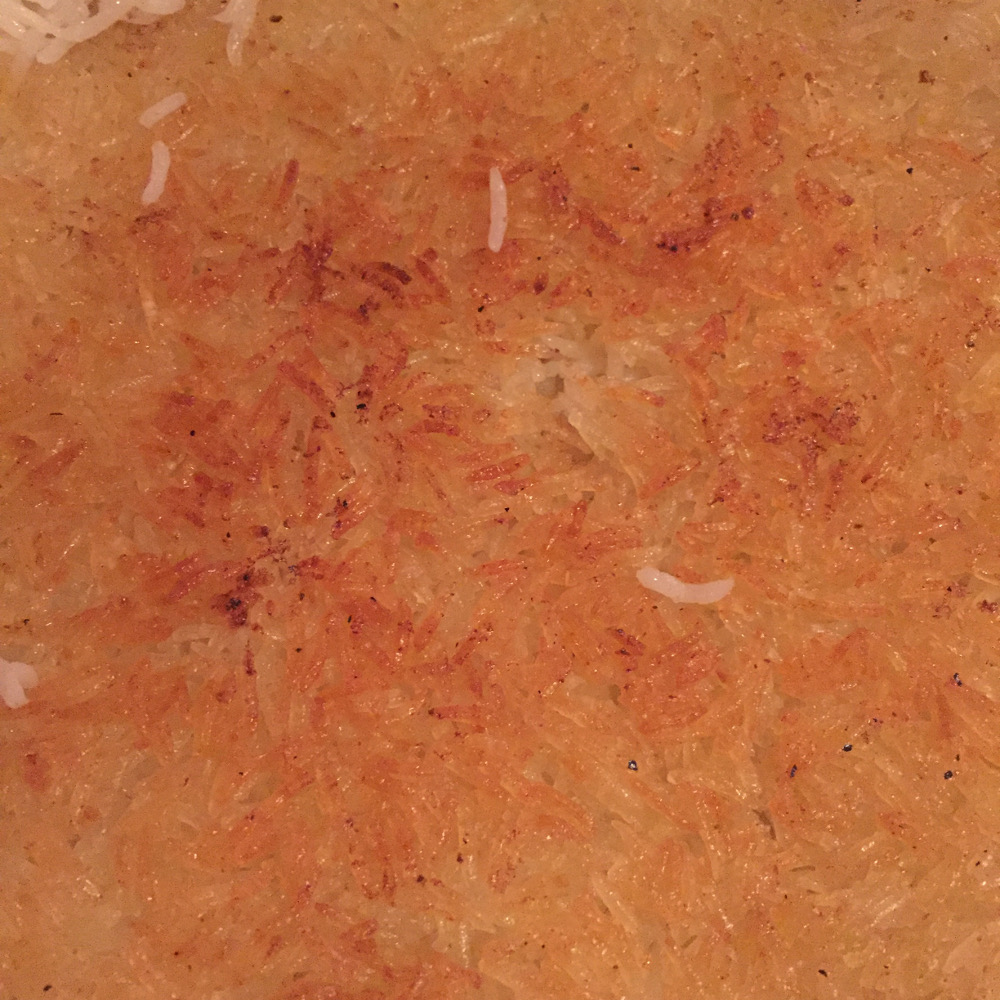
Then I let the rice rest for 4 minutes without a lid and without a flame underneath, per step 7 above. After, I put a plate upside down on the cast iron pan, flipped everything over to get the rice out, and here’s how it looked:
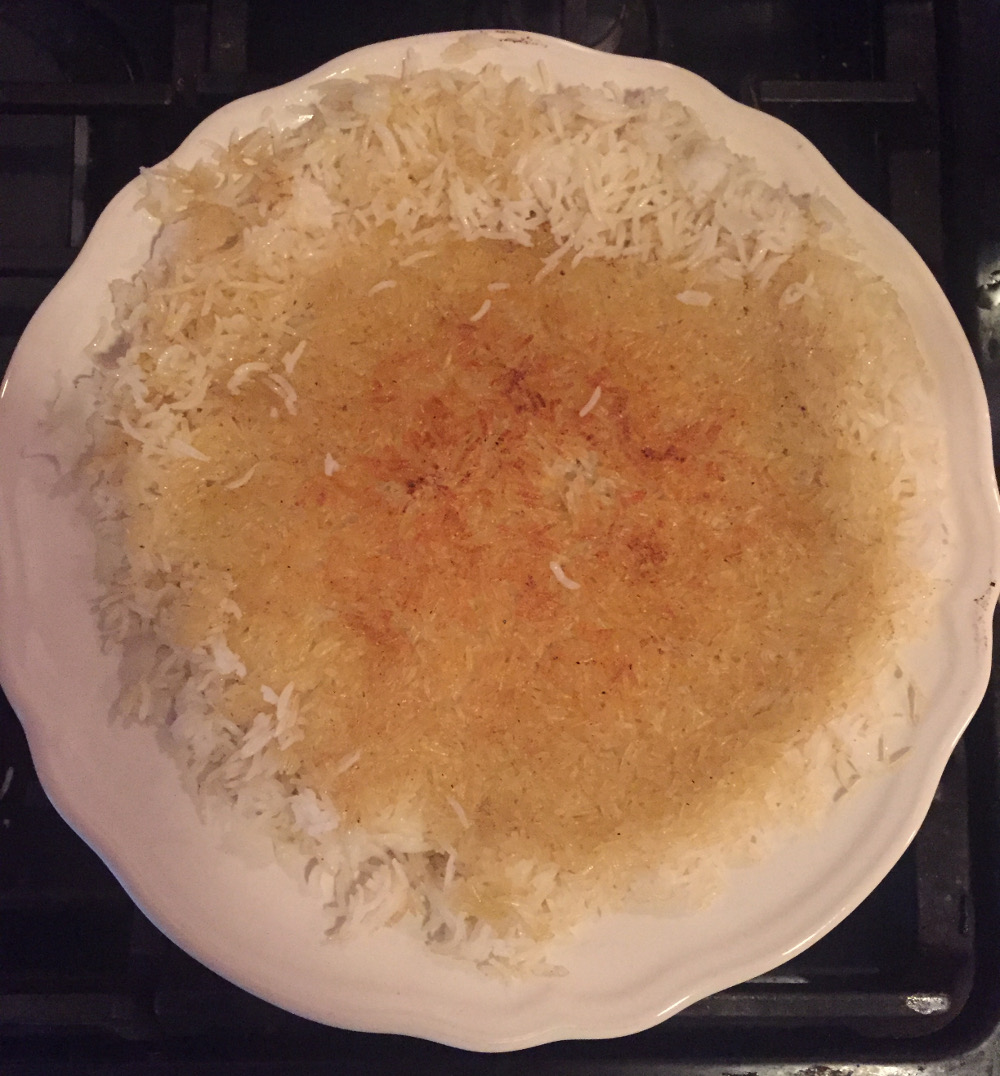
There was a bunch of oil left in the pan, so if oil consumption is a concern, we didn’t end up using a lot of it in the end.
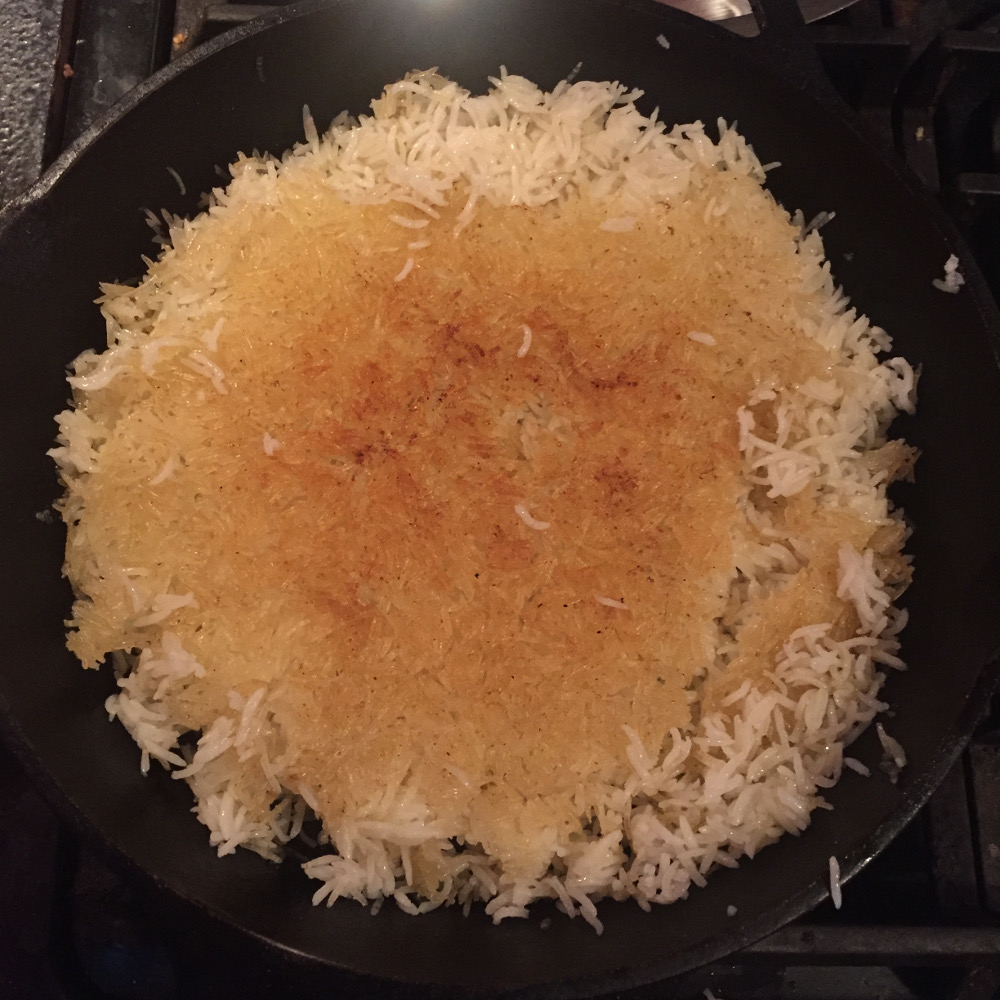
For serving, I simply slid the rice back into the cast iron pan, crispy side up, and brought it to the table as is. If I wanted, I could have cooked it some more (with the lid on) to crisp up the other side.
Hope you give this a try and enjoy. It’s so simple and very much worth it.